Netskope SWG Out-of-the-Box Response Integration

Requirements
- Netskope Next Gen SWG
- Netskope Next Gen SWG Access
- A Netskope RBAC custom role with Manage and Deploy permission over the URL List objects
- A Neskope Service Account token associated with the custom role
- Your Netskope tenant name
- Lumu License
- An active Lumu Defender subscription
Configure Netskope Next Gen SWG
As of September 30, 2025, Netskope Enhanced RBAC Authorization Service (RBACv3) is Generally Available. If you have a configured Lumu response integration with Netskope, your integration will work until your Netskope REST API v2 token expires. After your API token expires, you must recreate it by following the steps depicted in this section. This also applies to new integrations. You can find detailed information in the Netskope Enhanced RBAC Authorization Service document.
- Log in to the Netskope Next Gen SWG UI.
- Click Settings at the bottom of the left panel. This will open a new window.
- Open the Administration submenu.Then, select Administrator & Roles. Go to the Roles tab. Finally, click New.
- Give your role a distinctive Role Name and aRole Short Description.
- Scroll down in the Permissions tab. Look for the Objects section. You will need to select page 2 of the permissions list. Select the Manage And Apply option for the URL List permission. Finish by clicking the Save button.
- Go to the Administrators & Roles tab and click on Service Account.
- Give your New Service Account a distinctive Service Account Name. Select the Role created in step 5. Select the token expiration time and click the Create button.
- A pop-up will appear after creating the Service Account, allowing you to copy the API token.
- Save the token in your records. It will be required later to configure the integration in the Lumu portal.
Getting the Tenant Name
The Tenant Name is taken from the base URL that has the format https://<tenant_name>.goskope.com. The tenant name string is specific for each Netskope console. In some cases, the <tenant_name> has the format of alliances.eu, alliances.de, or just alliances. In other words, the tenant name is everything that goes after the protocol https:// and before the .goskope.com.
Add Integration
1. Log in to your Lumu account through the Lumu Portal and navigate to the available apps screen.
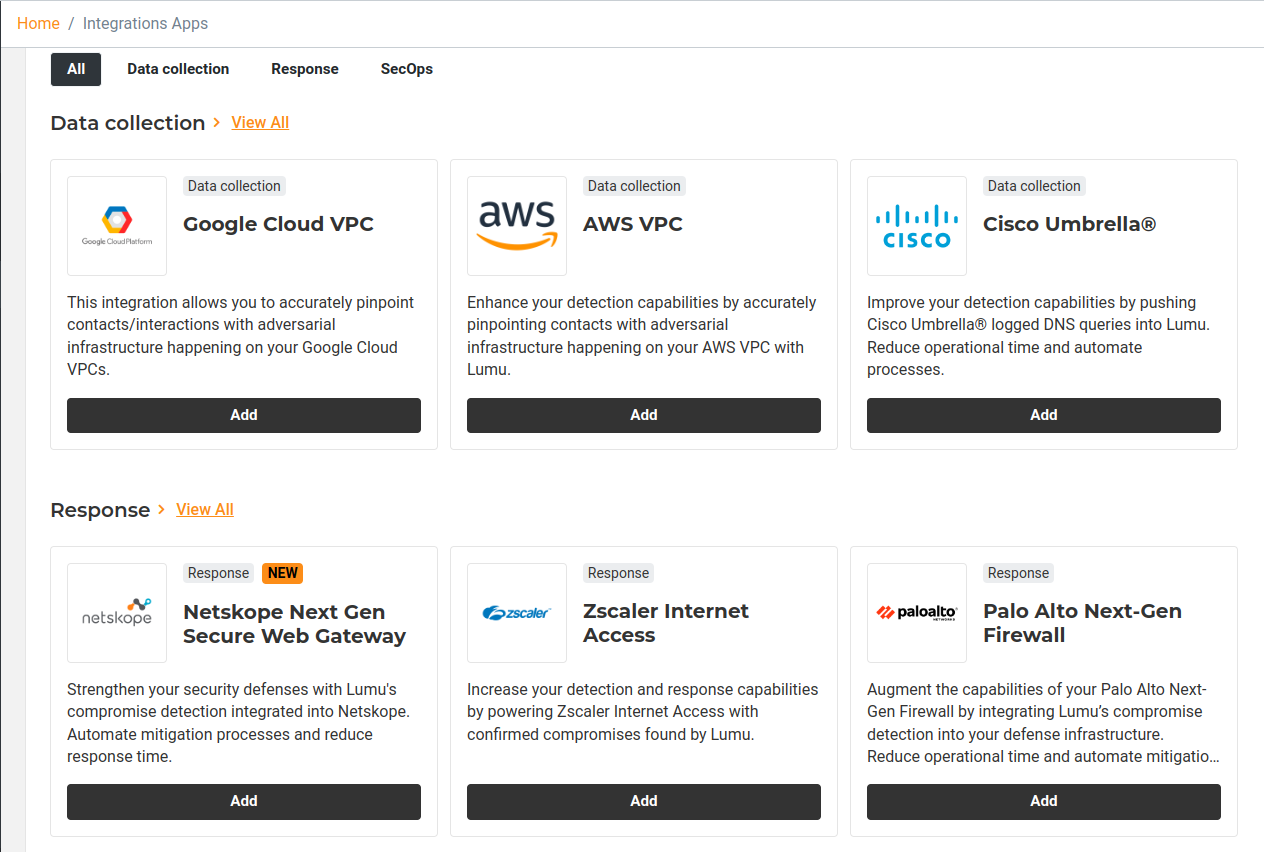
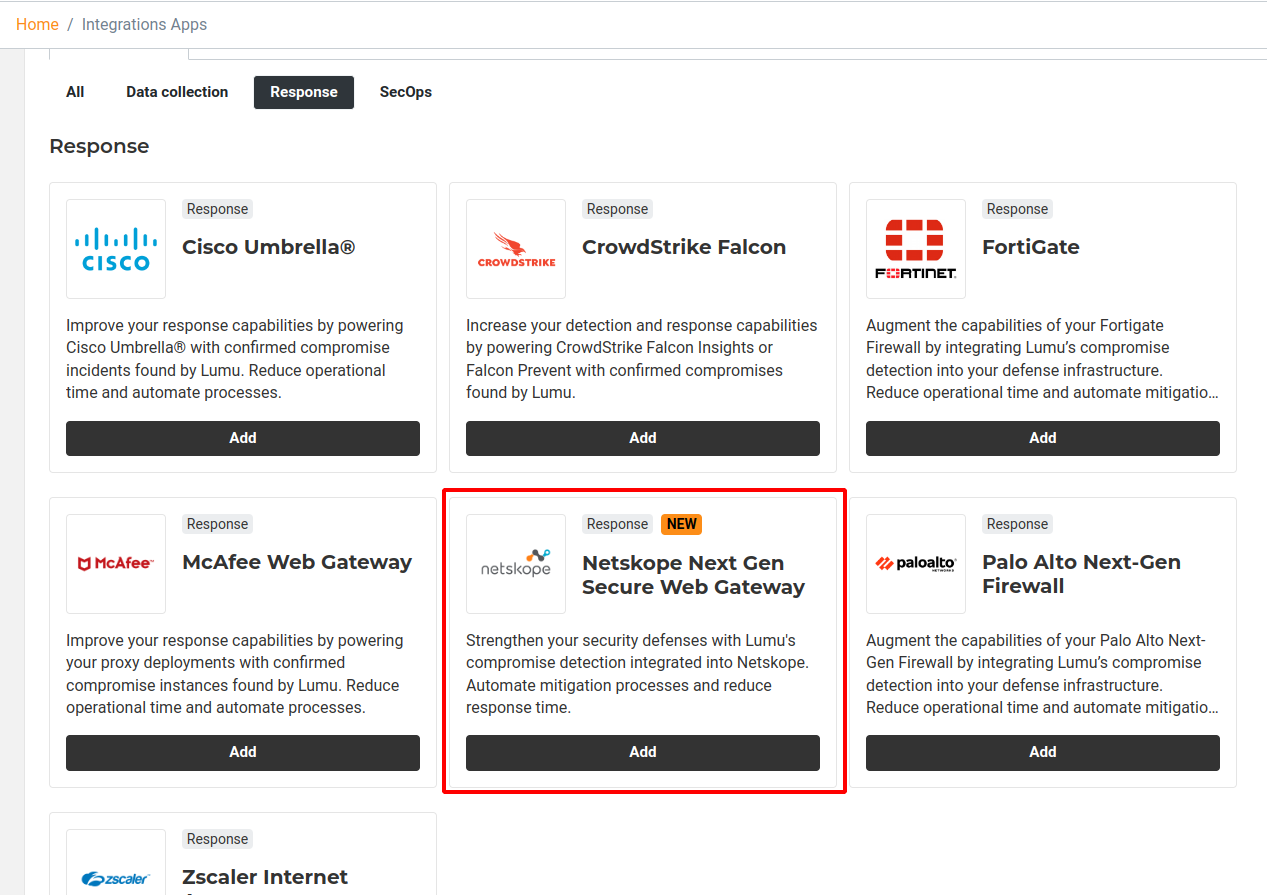
2. Locate the Netskope Next Gen SWG integration in the available apps area and click to add, then click to view details.
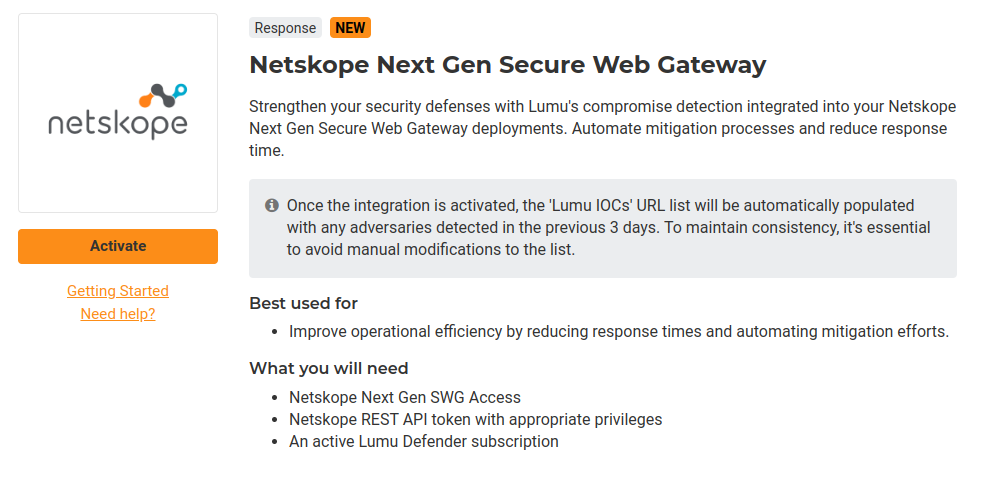
3. Familiarize yourself with the integration details available in the app description and click the button below to activate the integration.
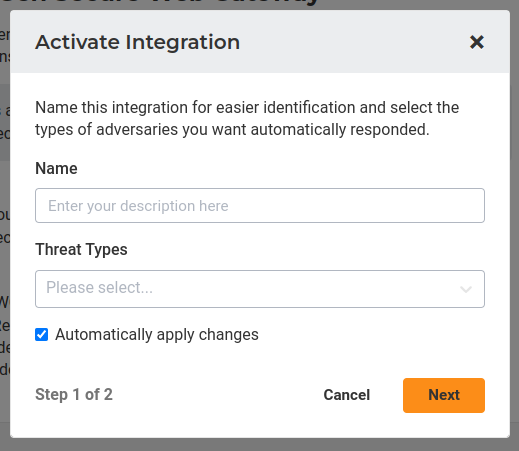
4. To activate the integration, click on the activate button, add a Name , and select the Threat Types that you want to push to your Netskope Next Gen SWG cloud. If you would prefer that Lumu activates your cloud with the new configuration, you should keep the option Automatically apply changes selected. Finally, click on the Next button.
 Once you successfully create the integration, you can edit the name and the selected Threat types.
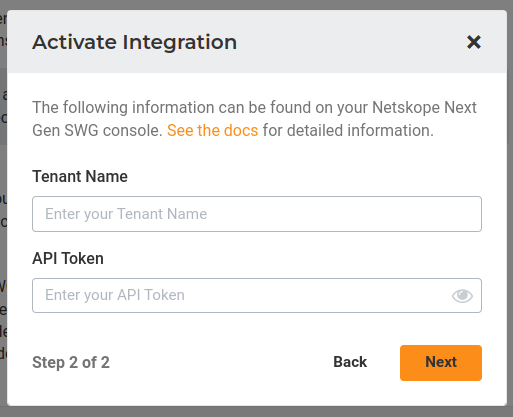
5. Fill in the required information, the Tenant Name, and the API Token, this can be created with the policy/urllist and policy/urllist/deploy scopes. Finally, click on the Next button.
 Please consult the procedure to obtain the tenant name in the corresponding section of this document. Also, remember to exclude the .goskope.com domain and security protocol as adding them will produce errors.Now, Lumu will validate whether the credentials provided are correct.
6. The integration is now created and active. Now, the Lumu Portal will display the details of the created integration:
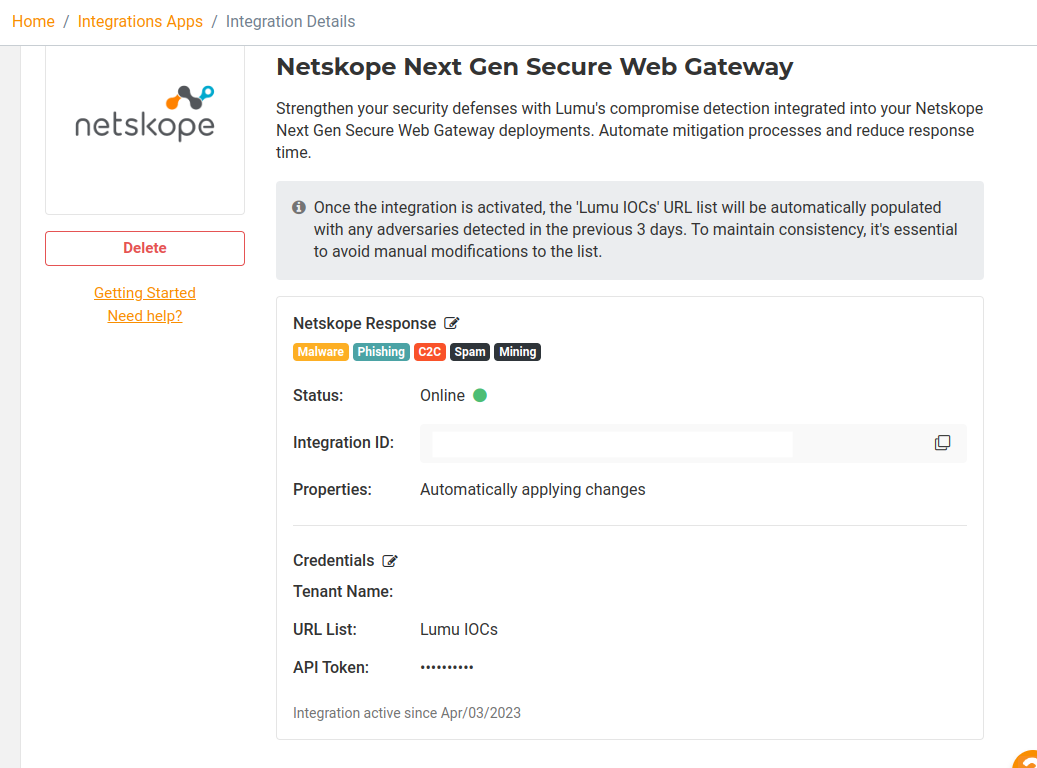
Once the integration is activated, the Netskope Next Gen SWG URL list will be updated with confirmed compromises found by Lumu within the preceding 3 days.
Get an AI Summary
Related Articles
Netskope Out-of-the-Box Data Collection Integration
This article describes the required procedure to integrate SonicWall Netskope Next-Gen SGW with Lumu for automated data collection procedures. This is one of our featured Out-of-the-Box Response Integrations. This integration previously used the ...Lumu Out-of-the-box Integrations
For getting started with Lumu integrations with third-party solutions, consult our Integrations guide. Lumu's Out-of-the-box (OOTB) integrations are a seamless and convenient way to integrate Lumu with other solutions in your cyberdefense stack to ...WatchGuard Out-of-the-Box Response Integration
This article guides you through the integration process of WatchGuard Cloud with Lumu for automated response procedures. This is one of our featured Out-of-the-Box Response Integrations. Requirements A WatchGuard Cloud license. It can be any of the ...OPNsense Out-of-the-box Response Integration
This article guides you through the integration process of OPNsense with Lumu for automated response procedures. This is one of our featured Out-of-the-Box Response Integrations. Requirements OPNsense version 21.1 or above. An active Lumu Defender ...Infoblox Threat Defense Out-of-the-Box Response Integration
This article describes the required procedure to integrate Infoblox Threat Defense with Lumu for automated response procedures. This is one of our featured Out-of-the-Box Response Integrations. Requirements Below you will find the technical ...